

This post is to show Markdown syntax rendering on Chirpy, you can also use it as an example of writing. Now, let’s start looking at text and typography.
Headings
H1 - heading
H2 - heading
H3 - heading
H4 - heading
Paragraph
Quisque egestas convallis ipsum, ut sollicitudin risus tincidunt a. Maecenas interdum malesuada egestas. Duis consectetur porta risus, sit amet vulputate urna facilisis ac. Phasellus semper dui non purus ultrices sodales. Aliquam ante lorem, ornare a feugiat ac, finibus nec mauris. Vivamus ut tristique nisi. Sed vel leo vulputate, efficitur risus non, posuere mi. Nullam tincidunt bibendum rutrum. Proin commodo ornare sapien. Vivamus interdum diam sed sapien blandit, sit amet aliquam risus mattis. Nullam arcu turpis, mollis quis laoreet at, placerat id nibh. Suspendisse venenatis eros eros.
Lists
Ordered list
- Firstly
- Secondly
- Thirdly
Unordered list
- Chapter
- Section
- Paragraph
- Section
ToDo list
- Job
- Step 1
- Step 2
- Step 3
Description list
- Sun
- the star around which the earth orbits
- Moon
- the natural satellite of the earth, visible by reflected light from the sun
Block Quote
This line shows the block quote.
Prompts
There are several types of prompts: tip, info, warning, and danger. They can be generated by adding the class prompt-{type} to the blockquote. For example, define a prompt of type info as follows:
1
2
> An example showing the `info` type prompt.
{: .prompt-info }
An example showing the
tiptype prompt.
An example showing the
infotype prompt.
An example showing the
warningtype prompt.
An example showing the
dangertype prompt.
Tables
| Company | Contact | Country |
|---|---|---|
| Alfreds Futterkiste | Maria Anders | Germany |
| Island Trading | Helen Bennett | UK |
| Magazzini Alimentari Riuniti | Giovanni Rovelli | Italy |
Links
Footnote
Click the hook will locate the footnote1, and here is another footnote2.
Inline code
1
`inline Code`
This is an example of Inline Code.
Filepath Hightlight
1
`/path/to/a/file.extend`{: .filepath}
Here is the /path/to/the/file.extend
Code blocks
Common
Markdown symbols ``` can easily create a code block as follows:
1
2
3
```
This is a plaintext common code snippet, without syntax highlight and line number.
```
1
This is a plaintext common code snippet, without syntax highlight and line number.
Specific Language
Using ```{language} you will get a code block with syntax highlight:
1
2
3
```yaml
key: value
```
1
key: value
Line Number
By default, all languages except plaintext, console, and terminal will display line numbers. When you want to hide the line number of a code block, add the class nolineno to it:
1
2
3
4
```shell
echo 'No more line numbers!'
```
{: .nolineno }
Specific filename
You may have noticed that the code language will be displayed at the top of the code block. If you want to replace it with the file name, you can add the attribute file to achieve this:
1
2
3
4
5
6
```sass
@import
  "colors/light-typography",
  "colors/dark-typography";
```
{: file="path/to/file" }
1
2
3
@import
  "colors/light-typography",
  "colors/dark-typography";
Liquid Codes
If you want to display the Liquid snippet, surround the liquid code with {% raw %} and {% endraw %}:
1
2
3
4
5
6
7
{% raw %}
```liquid
{% if product.title contains 'Pack' %}
  This product's title contains the word Pack.
{% endif %}
```
{% endraw %}
Or adding render_with_liquid: false (Requires Jekyll 4.0 or higher) to the post’s YAML block.
Mathematics
The mathematics powered by MathJax:
\[\sum_{n=1}^\infty 1/n^2 = \frac{\pi^2}{6}\]When $a \ne 0$, there are two solutions to $ax^2 + bx + c = 0$ and they are
\[x = {-b \pm \sqrt{b^2-4ac} \over 2a}\]1
2
3
4
5
$$ \sum_{n=1}^\infty 1/n^2 = \frac{\pi^2}{6} $$
When $a \ne 0$, there are two solutions to $ax^2 + bx + c = 0$ and they are
$$ x = {-b \pm \sqrt{b^2-4ac} \over 2a} $$
Mermaid SVG
1
2
3
4
5
6
7
```mermaid
 gantt
  title  Adding GANTT diagram functionality to mermaid
  apple :a, 2017-07-20, 1w
  banana :crit, b, 2017-07-23, 1d
  cherry :active, c, after b a, 1d
```
 gantt
  title  Adding GANTT diagram functionality to mermaid
  apple :a, 2017-07-20, 1w
  banana :crit, b, 2017-07-23, 1d
  cherry :active, c, after b a, 1d
Images
Caption
Add italics to the next line of an image,then it will become the caption and appear at the bottom of the image:
1
2

_Image Caption_
Size
In order to prevent the page content layout from shifting when the image is loaded, we should set the width and height for each image.
1
{: width="700" height="400" }
For an SVG, you have to at least specify its width, otherwise it won’t be rendered.
Starting from Chirpy v5.0.0, height and width support abbreviations (height → h, width → w). The following example has the same effect as the above:
1
{: w="700" h="400" }
Default (with caption)
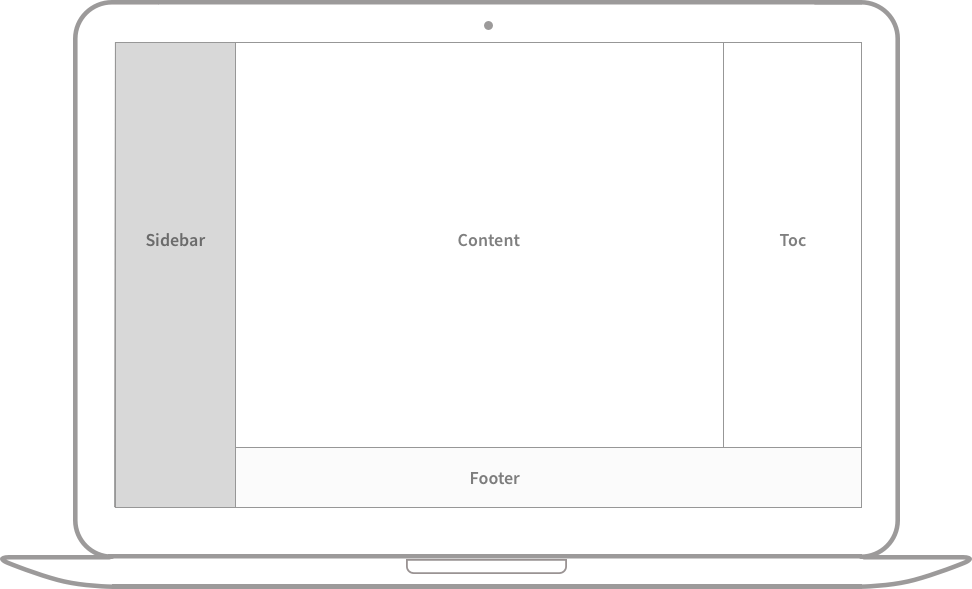 Full screen width and center alignment
Position
By default, the image is centered, but you can specify the position by using one of the classes normal, left, and right.
Once the position is specified, the image caption should not be added.
Normal position
Image will be left aligned in below sample:
1
{: .normal }
Float to the left
1
{: .left }
Float to the right
1
{: .right }
Left aligned
Float to left
Praesent maximus aliquam sapien. Sed vel neque in dolor pulvinar auctor. Maecenas pharetra, sem sit amet interdum posuere, tellus lacus eleifend magna, ac lobortis felis ipsum id sapien. Proin ornare rutrum metus, ac convallis diam volutpat sit amet. Phasellus volutpat, elit sit amet tincidunt mollis, felis mi scelerisque mauris, ut facilisis leo magna accumsan sapien. In rutrum vehicula nisl eget tempor. Nullam maximus ullamcorper libero non maximus. Integer ultricies velit id convallis varius. Praesent eu nisl eu urna finibus ultrices id nec ex. Mauris ac mattis quam. Fusce aliquam est nec sapien bibendum, vitae malesuada ligula condimentum.
Float to right
Praesent maximus aliquam sapien. Sed vel neque in dolor pulvinar auctor. Maecenas pharetra, sem sit amet interdum posuere, tellus lacus eleifend magna, ac lobortis felis ipsum id sapien. Proin ornare rutrum metus, ac convallis diam volutpat sit amet. Phasellus volutpat, elit sit amet tincidunt mollis, felis mi scelerisque mauris, ut facilisis leo magna accumsan sapien. In rutrum vehicula nisl eget tempor. Nullam maximus ullamcorper libero non maximus. Integer ultricies velit id convallis varius. Praesent eu nisl eu urna finibus ultrices id nec ex. Mauris ac mattis quam. Fusce aliquam est nec sapien bibendum, vitae malesuada ligula condimentum.
Dark/Light mode
You can make images follow theme preferences in dark/light mode. This requires you to prepare two images, one for dark mode and one for light mode, and then assign them a specific class (dark or light):
1
2
{: .light }
{: .dark }
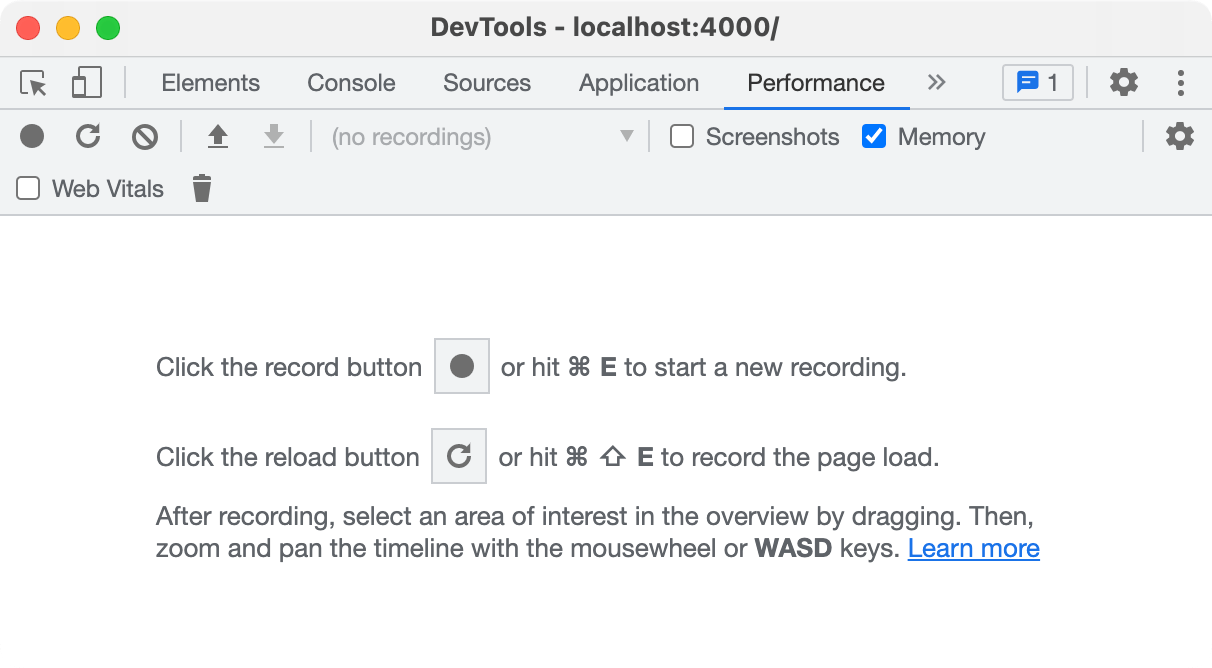
Shadow
The screenshots of the program window can be considered to show the shadow effect:
1
{: .shadow }
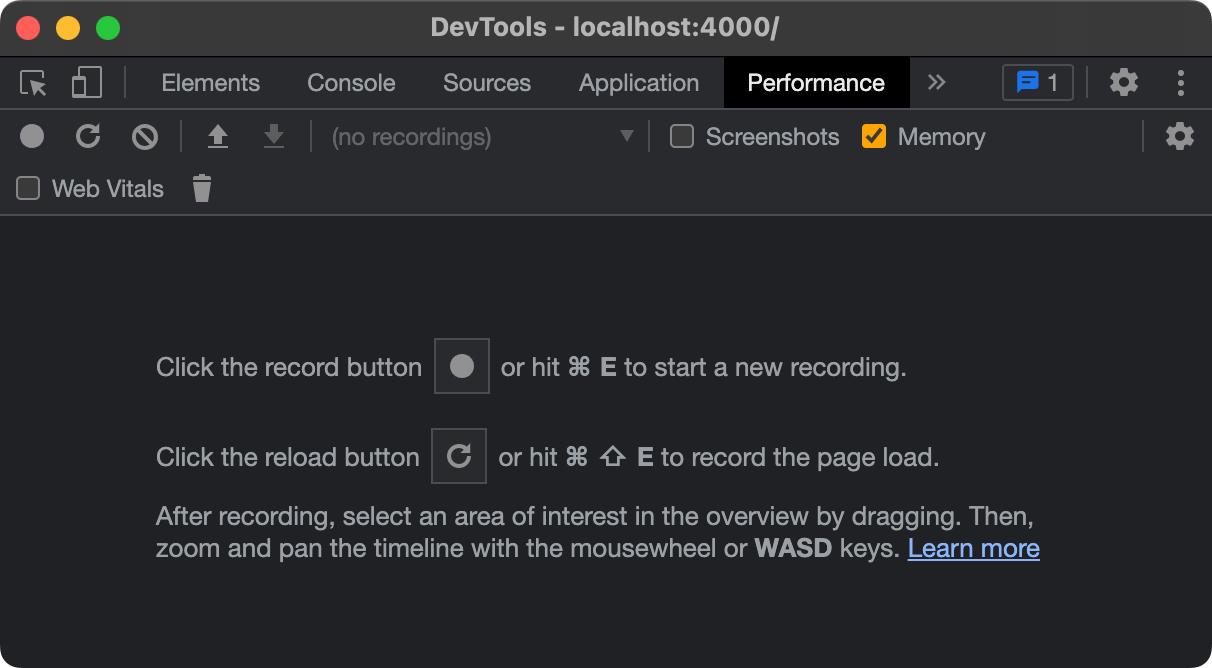
Dark/Light mode & Shadow
The image below will toggle dark/light mode based on theme preference, notice it has shadows.
CDN URL
If you host the images on the CDN, you can save the time of repeatedly writing the CDN URL by assigning the variable img_cdn of _config.yml file:
1
img_cdn: https://cdn.com
Once img_cdn is assigned, the CDN URL will be added to the path of all images (images of site avatar and posts) starting with /.
For instance, when using images:
1

The parsing result will automatically add the CDN prefix https://cdn.com before the image path:
1
<img src="https://cdn.com/path/to/flower.png" alt="The flower">
Image Path
When a post contains many images, it will be a time-consuming task to repeatedly define the path of the images. To solve this, we can define this path in the YAML block of the post:
1
2
3
---
img_path: /assets/img/path/
---
And then, the image source of Markdown can write the file name directly:
1

The output will be:
1
<img src="/assets/img/path/flower.png" alt="The flower">
Preview Image
If you want to add an image at the top of the post, please provide an image with a resolution of 1200 x 630. Please note that if the image aspect ratio does not meet 1.91 : 1, the image will be scaled and cropped.
Knowing these prerequisites, you can start setting the image’s attribute:
1
2
3
4
5
---
image:
  path: /path/to/image
  alt: image alternative text
---
Note that the img_path can also be passed to the preview image, that is, when it has been set, the attribute path only needs the image file name.
For simple use, you can also just use image to define the path.
1
2
3
---
image: /path/to/image
---
LQIP
For preview images:
1
2
3
4
---
image:
  lqip: /path/to/lqip-file # or base64 URI
---
For normal images:
1
{: lqip="/path/to/lqip-file" }
Video
You can embed a video with the following syntax:
1
{% include embed/{Platform}.html id='{ID}' %}
Where Platform is the lowercase of the platform name, and ID is the video ID.
The following table shows how to get the two parameters we need in a given video URL, and you can also know the currently supported video platforms.
| Video URL | Platform | ID |
|---|---|---|
| https://www.youtube.com/watch?v=32c7espw_jQ | youtube | 32c7espw_jQ |
| https://www.twitch.tv/videos/1634779211 | twitch | 1634779211 |
{% include embed/youtube.html id=’32c7espw_jQ’ %}
Learn More
For more knowledge about Jekyll posts, visit the Jekyll Docs: Posts.